


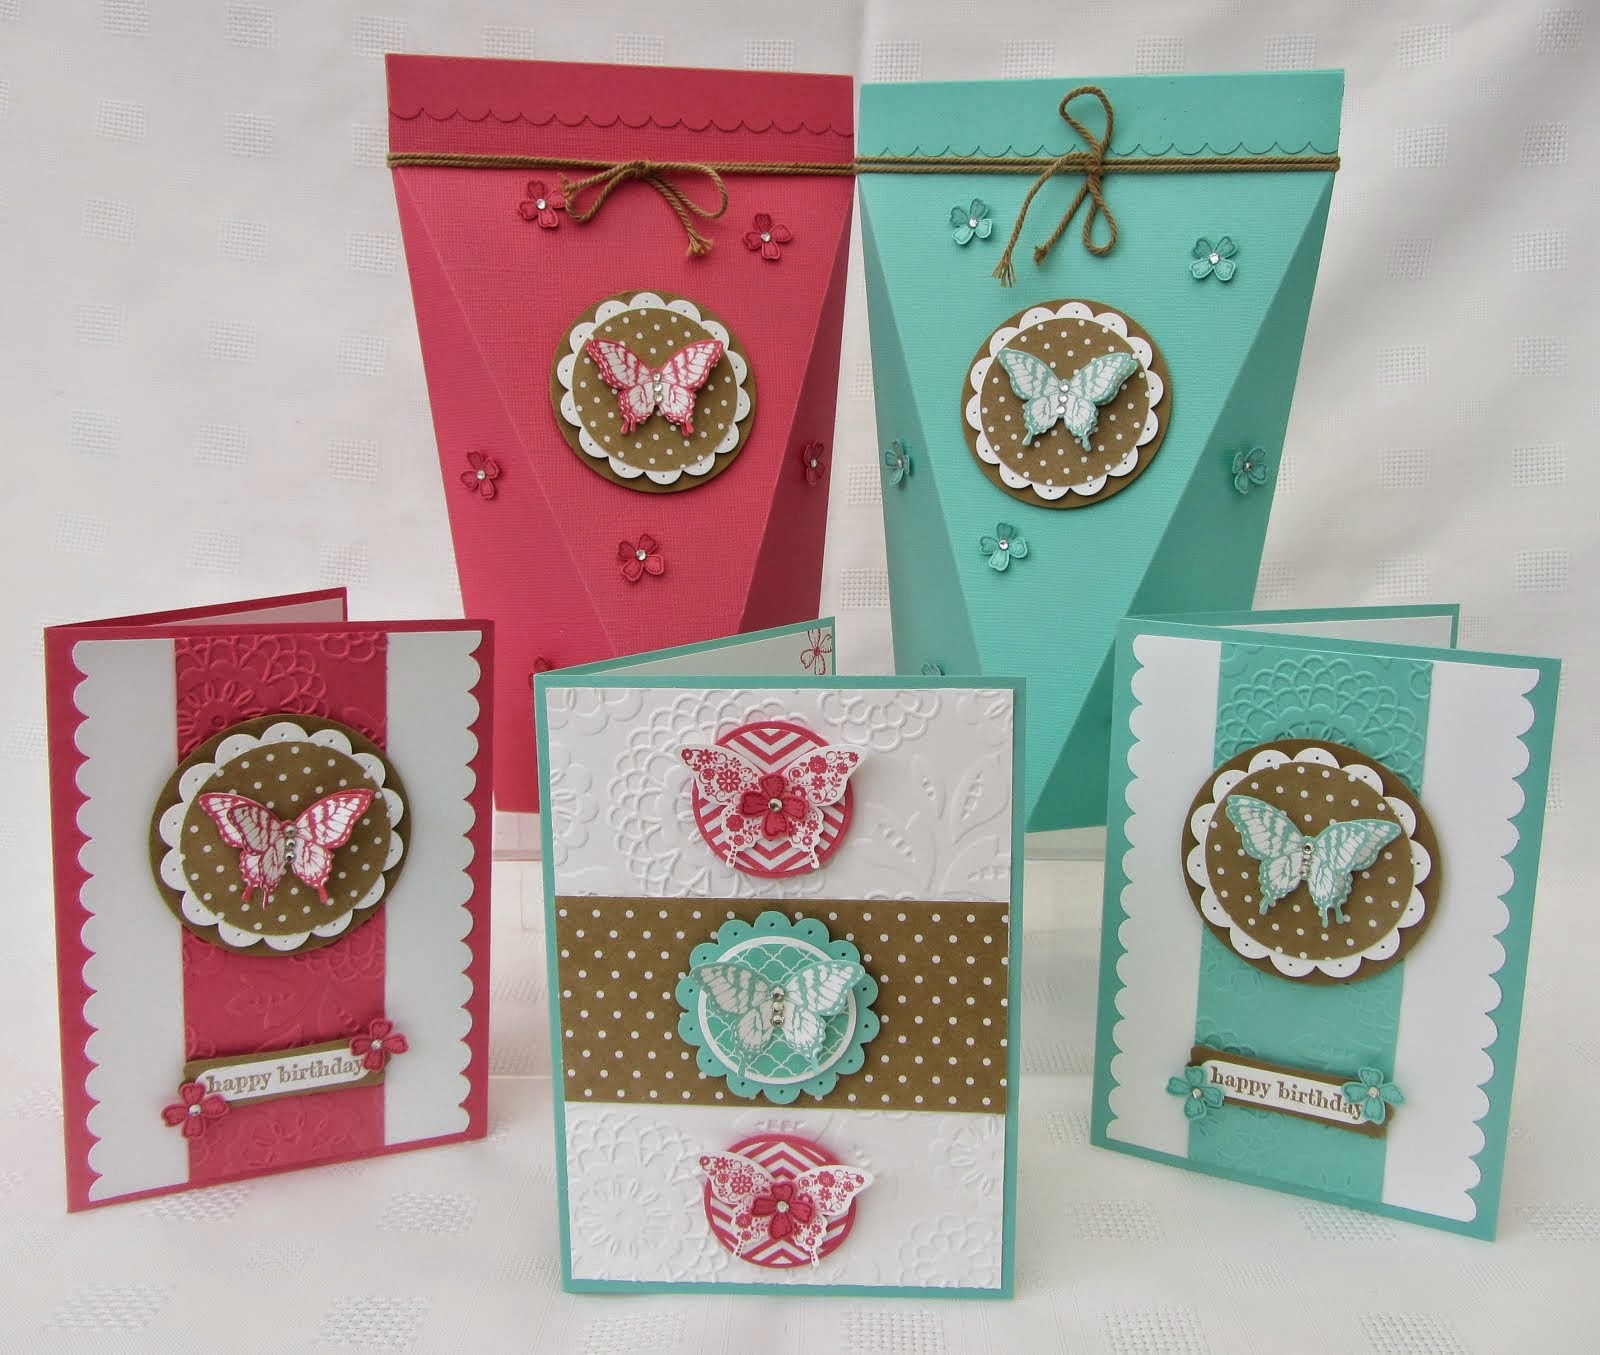
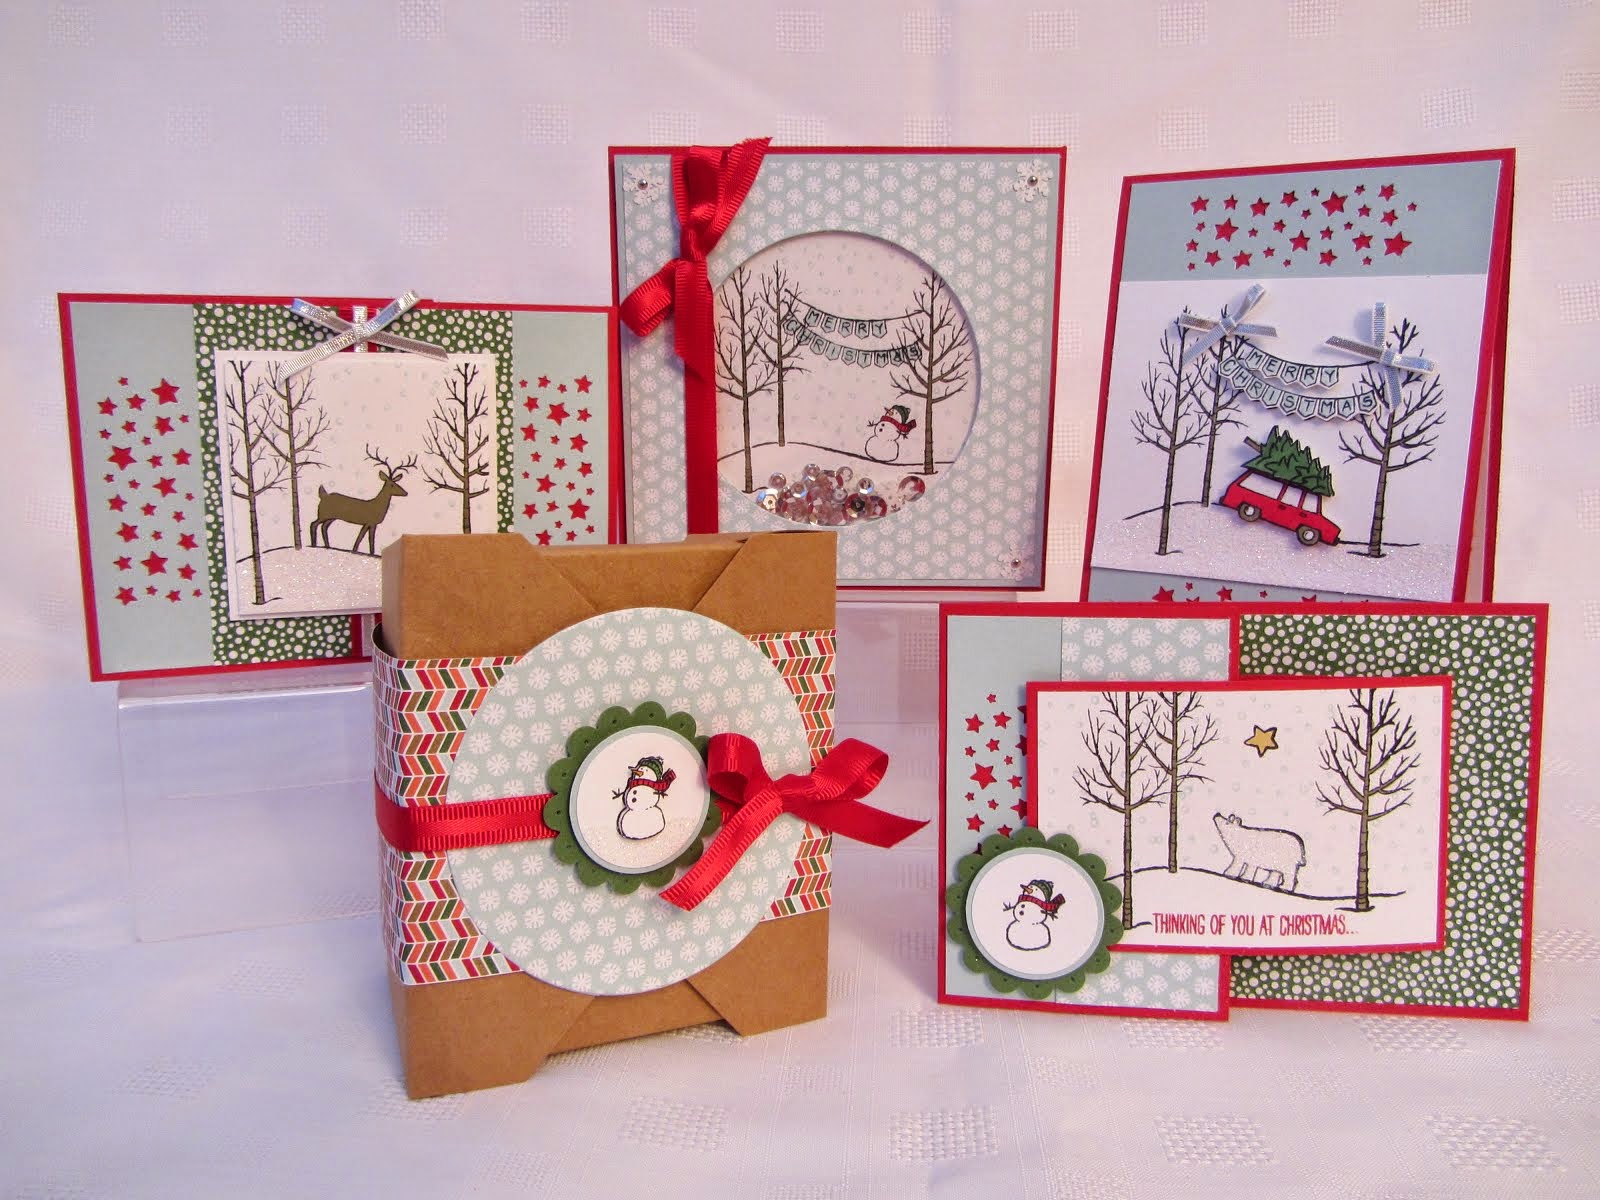
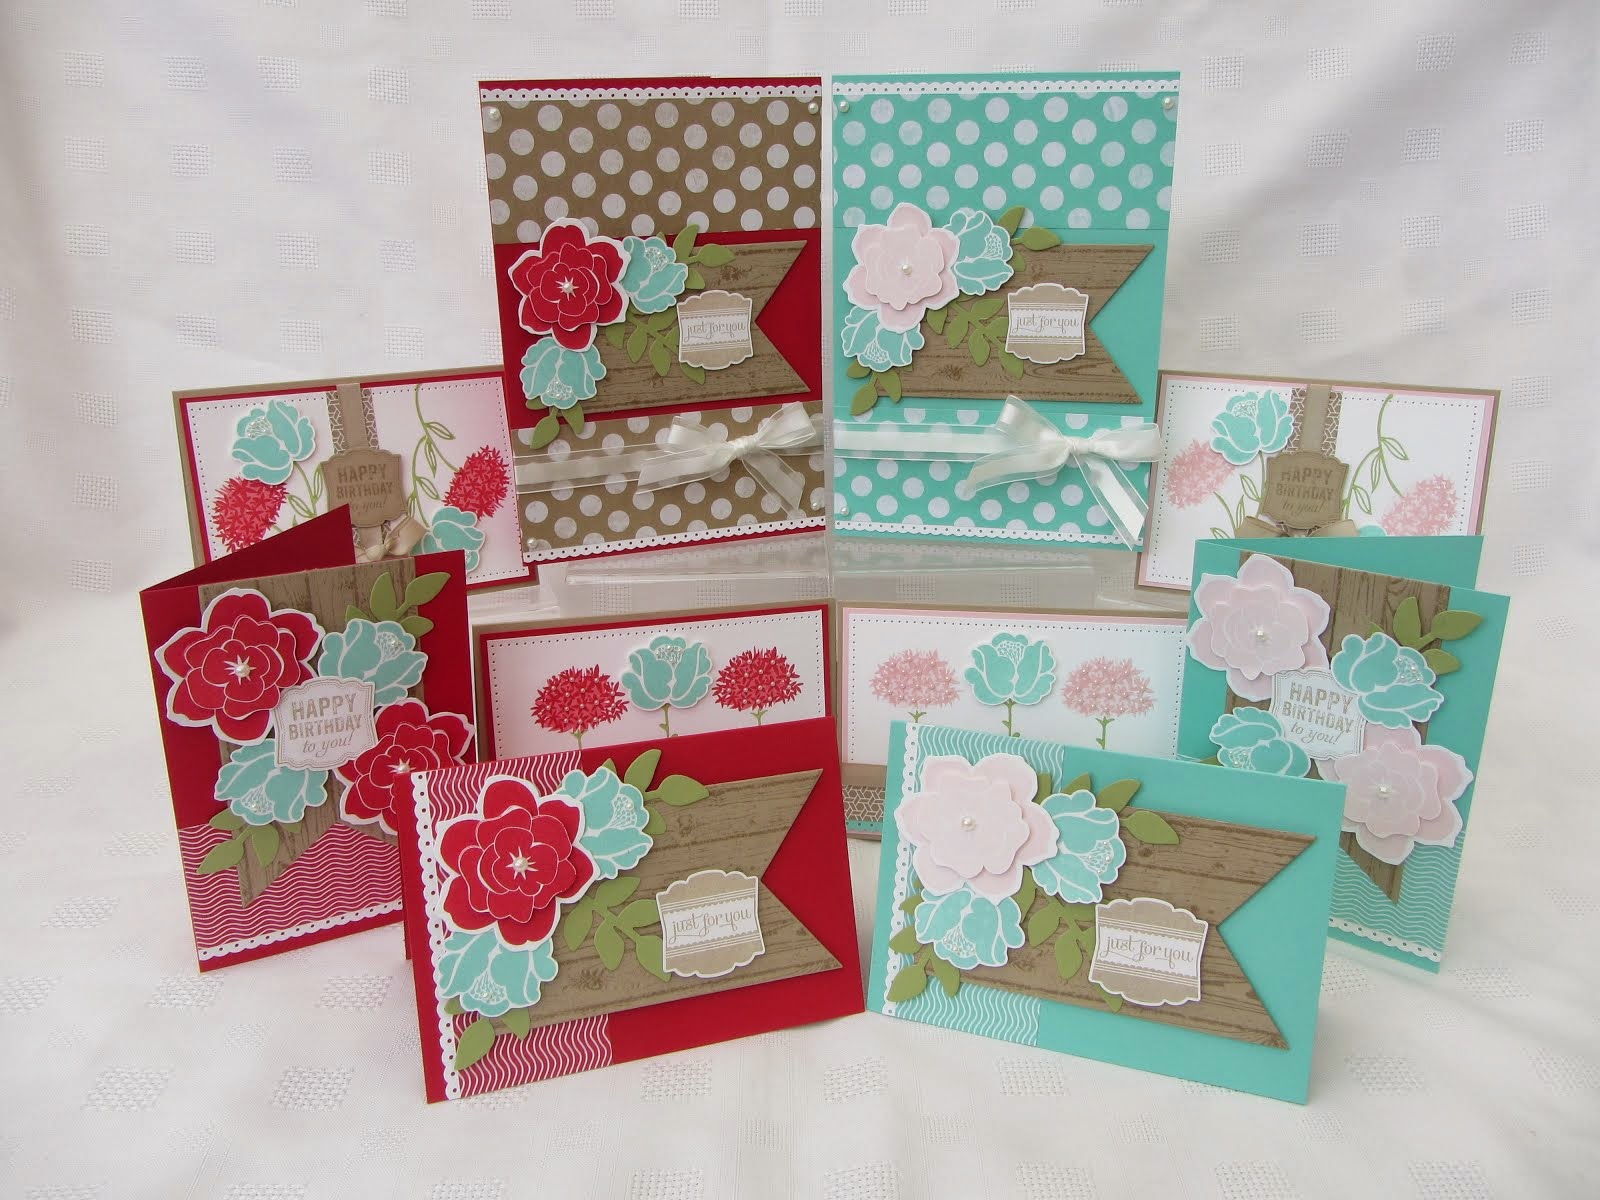
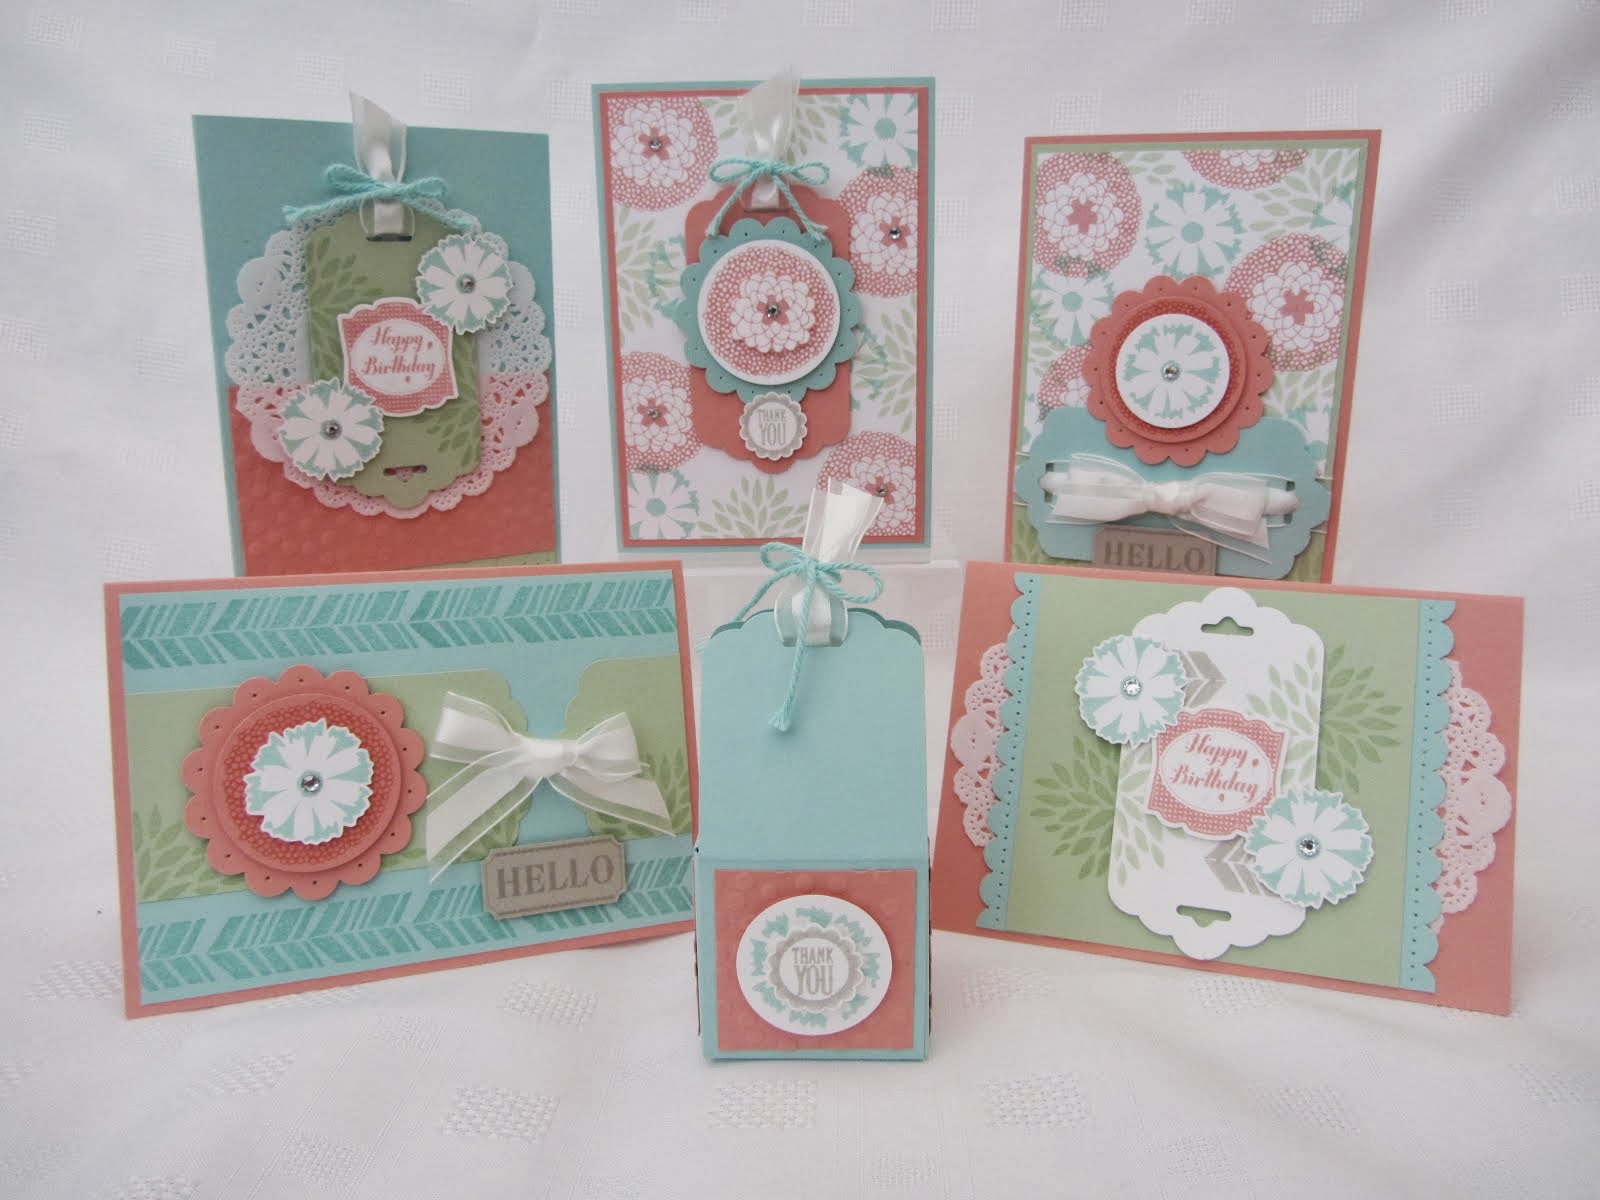
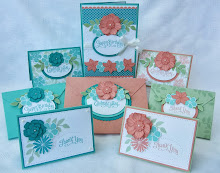
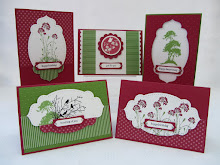
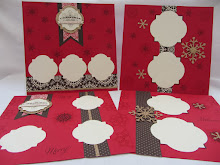
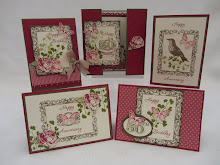
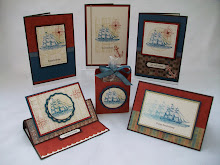
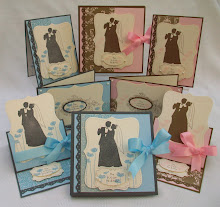
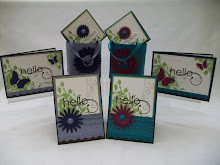
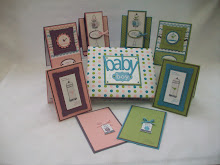
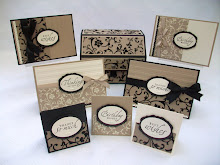
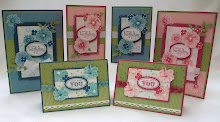
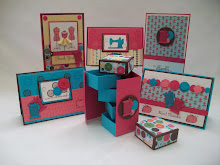
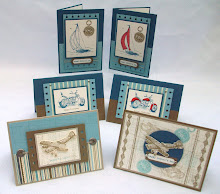
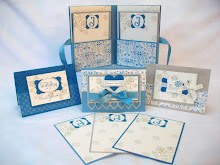
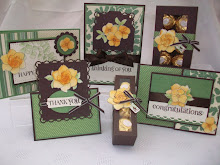
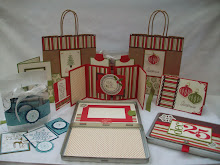
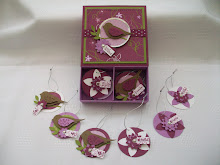
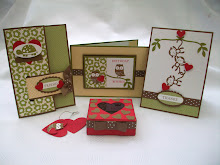
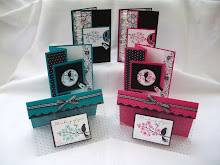
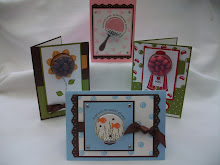
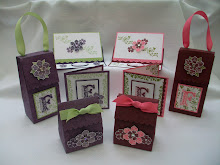
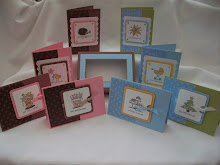
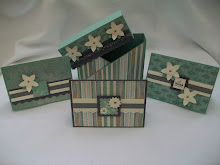
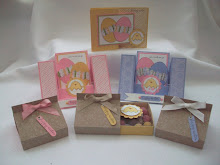
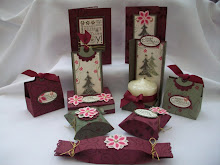
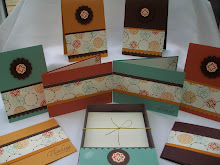
 These are some of the bits I demonstrated at our Craft Club Sale a Bration Workshop last night.
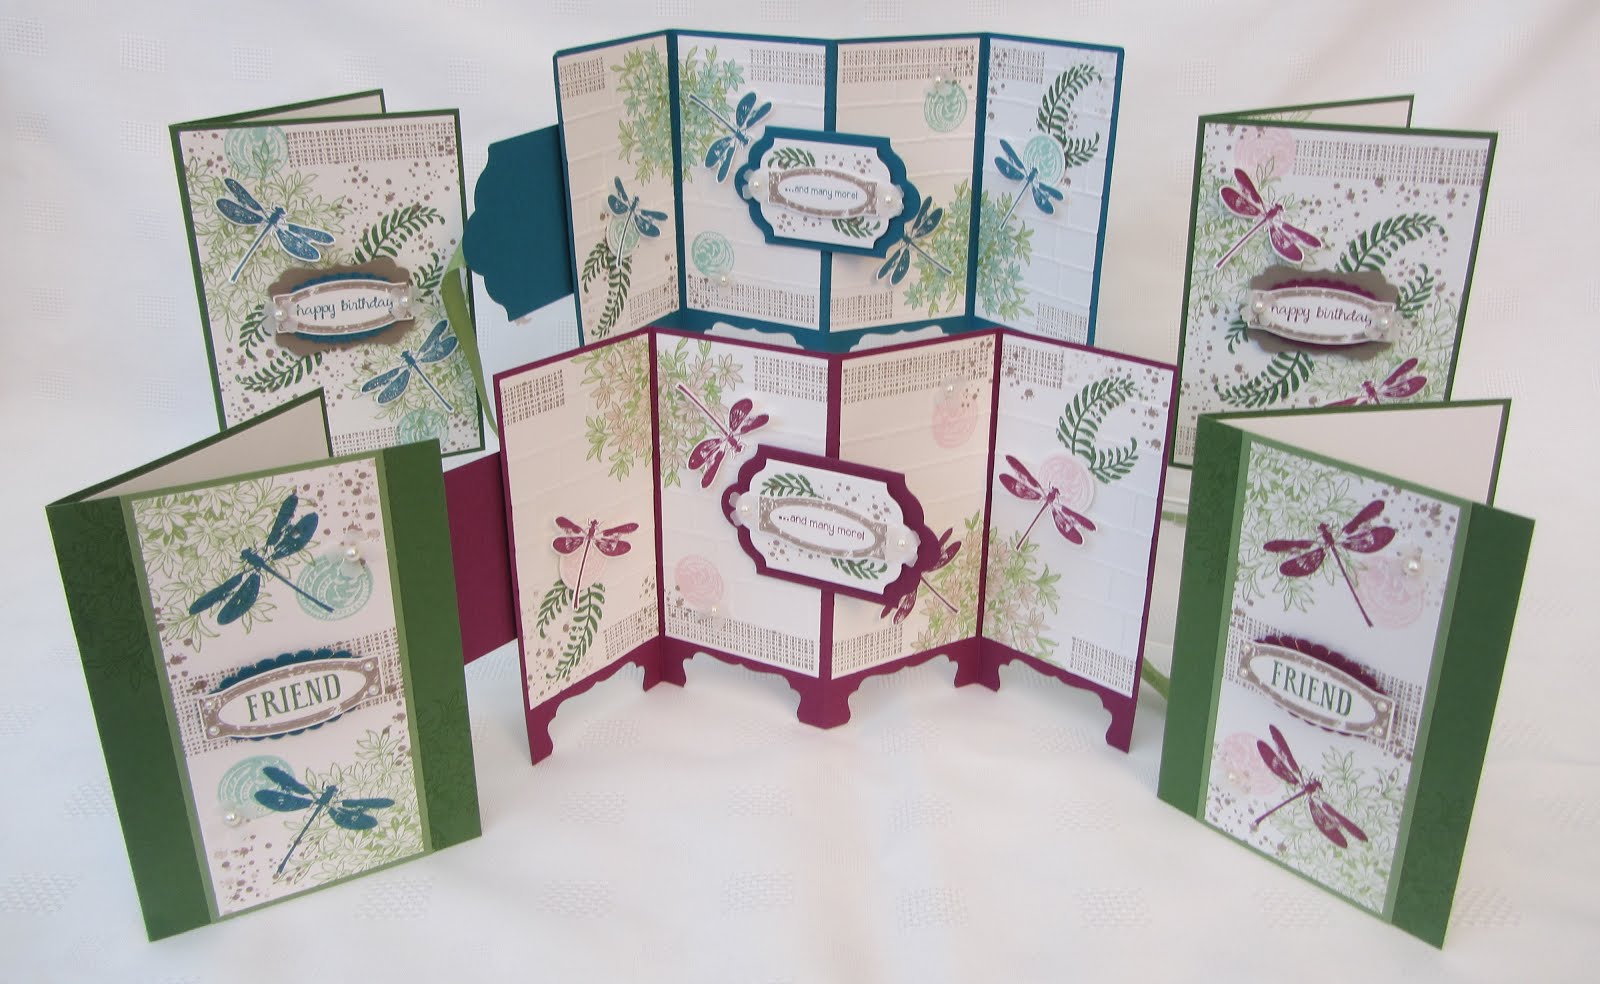
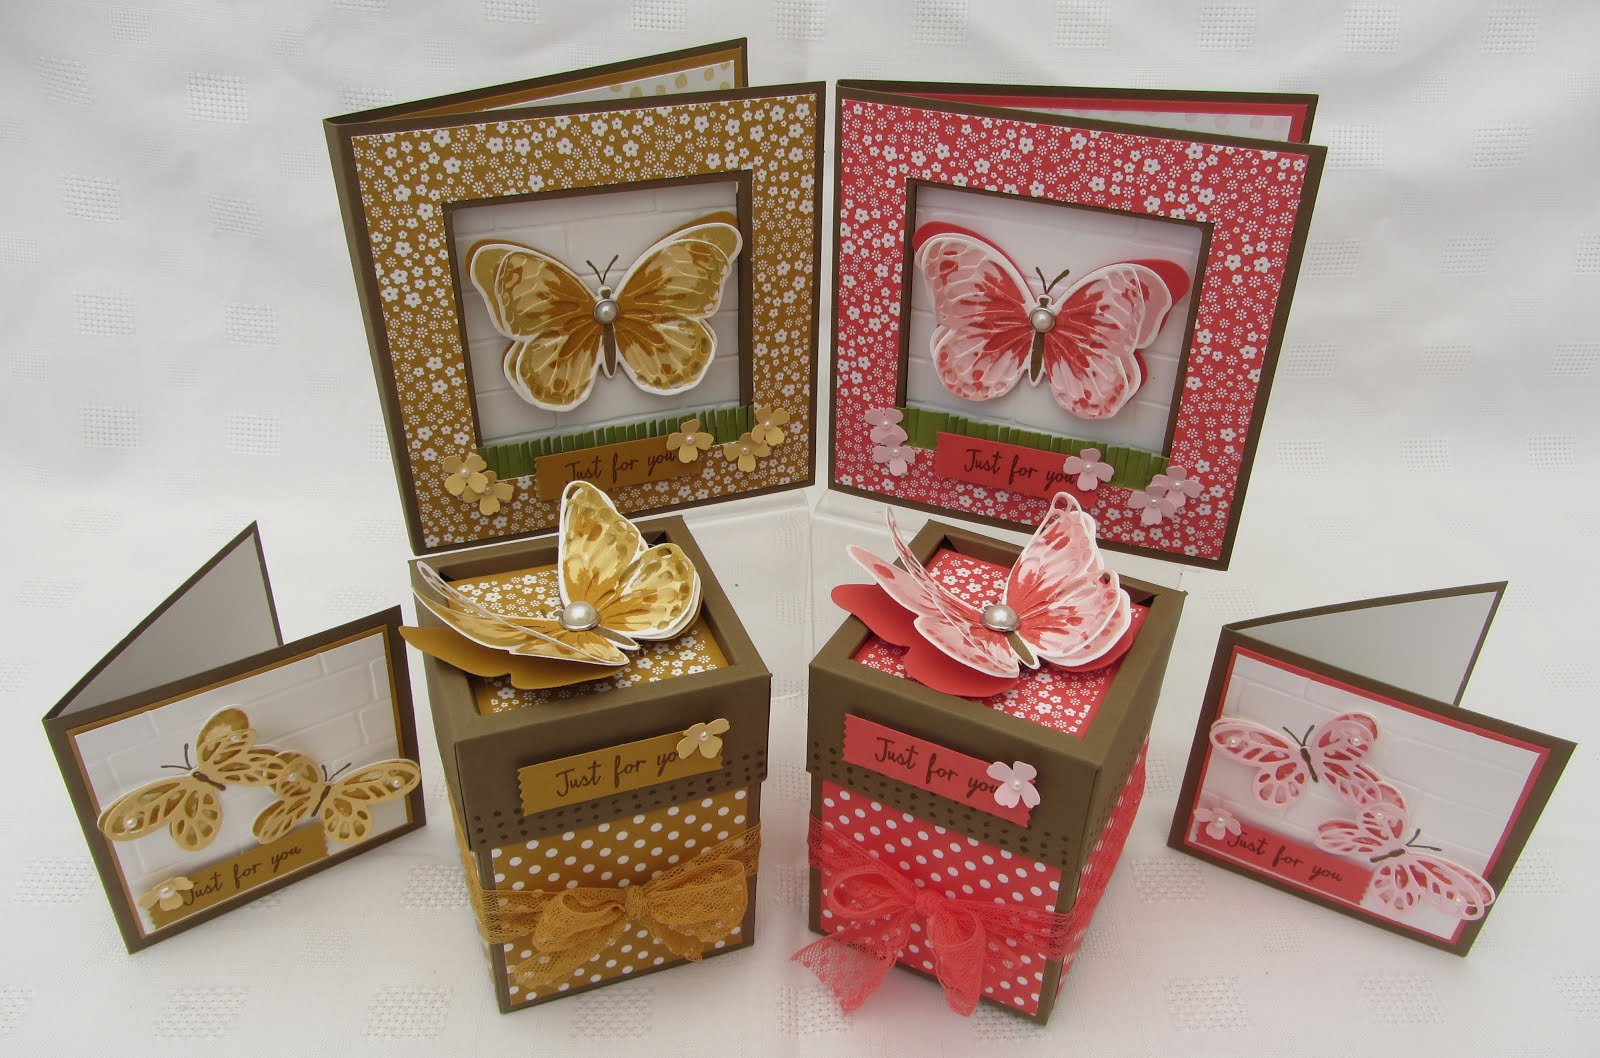
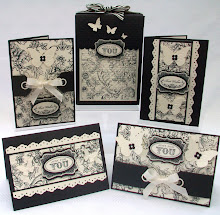
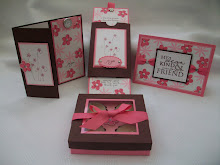
I used the Love You Much stamp set. On a Previous post on Sunday, I showed you the rest of the cards, using this colour combination. Chocolate Chip, Close to Cocoa, Very Vanilla and Real red. The cards at the back all have a fun insert - An Explosion Card.....
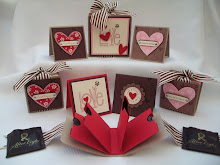
 I added some punched out hearts to the inside and the paper is from the Jackpot paper pack.
 You have to use paper to do this as cardstock would be too thick really.
 To make best use of a piece of 12" x 12" of paper. Cut the paper into Four, ie Either 6" x 6" or 15cm x 15cm.
 Step 1. Fold the paper diagonally from corner to corner.
Step 2. Turn and to this again.
 Step 3. You will end up with the cross in the middle as below.
 Step 4. Having the paper facing you bring down the top edge, and marry up with the bottom corners.
 Step 5. You will end up with the piece looking like this a smaller folded triangle.
 Step 6. Now bring in the corners to the centre, as below.
 Step 7. Turn over and do the same to the back, bring in the corners to the centre.
 Step 8. Your paper will look like this.
 Step 9. Now open up the top slightly and tuck in the corners. As shown on the right. Do this to all four corners.
 Step 10. There you are finished. Add this to the inside of your card...
You could add some confetti inside for a bit of fun!!!! But you might not be very popular with the mess......:-)
 Add double sided tape to the top and bottom of the outside. Add to the inside of your card, with the point up against the score line in the middle of your card, not going over it though! Then close you card and the top will stick in the correct position. If you remember to take the backing of the double sided tape!!!!
 If you are using designer paper, choose which side you want on the inside and then when folding it make sure that is on the inside of the first fold.
Card Sizes then by cutting 12" x 12" into four......
The card base needs to be 3 1/2" x 3 1/2" square to use a 6" x 6" piece of paper folded up.
The card base needs to be 9.5cm x 9.5cm square to use a 15cm x 15cm piece of paper folded up.
If you need to make a 4" x 4" or 10.5cm x 10.5cm You will need the paper to be 7" x 7" or 18cm x 18cm but you could only get one from a piece of 12 x 12.
Hope this Helps.
Thanks for looking,
Jenny:-)xx
 Posted by


10 comments:
Fab tutorial. Thanks Jenny.
Lesley x
As always another brilliantly different idea that I haven't seen before. Thank you for all the inspiration you generously share with us all Jenny
Congratulations! I just wanted you to know that your project will appear on the Yahoo Group Late Night Stamper’s blog finds of the day for January 20th. Want to receive your own copy of the blog finds of the day? Join us at http://groups.yahoo.com/group/stampinuplnstampers/ or visit our Blog Finds of the Day Blog at http://blogfindsoftheday.blogspot.com.
These are great - thanks for the tutorial
Brilliant Jenny, thanks so much for sharing
Thanks Jenny, I've just tried this with some retired DSP.. works brilliantly!! Can't wait to mount it onto a card now.. one question, where do you get your envies & card bags from? especially for the smaller square cards x
The market gallery near us have most sizes.
What a fab little idea, thanks for sharing, I will definately have a go at it asap :0)
Hugs xxx
This is so neat! I found your blog on the Late Night Stamper's blog finds of the day! Thanks for sharing the tutorial on how to put this together too!
- Elizabeth
Co-Owner
www.missimagination.com
a dica!!!muito lindo o cartão...
beijos!!!
Post a Comment